
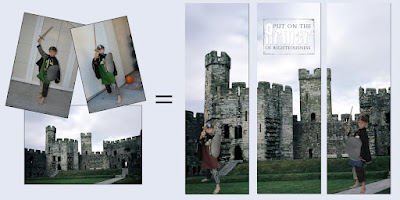
Alison says: Extracting something from a photo using Elements is so easy and super fun! I just completed this little project for my boys' "castle" room this last week. I took their pictures dressed in a knight's costume in front of our garage so there would be some contrast in coloring and it would be easier to extract. Then I changed the colors of the tunics and dragged the extracted boys over to a picture of a castle I found on the internet. I added some text and split the pictures into thirds and mod podged them on to 8"x24" canvases.

Take your photo into Elements and choose image, then magic extractor. Click on the pen with the + sign on the left side. Color the area you want to keep (red). Click on the pen with the - sign and color the area you want to take away (blue). Choose 2 on the feathering option on the right. Click OK. You may have to use the eraser to clean some areas up a bit. Make sure you save your extraction as a png so the background will be transparent.
Here's a little tip to use when you're extracting a photo using the Magic Extractor option in Photoshop Elements. When you're extracting your picture, make sure you put in a "4" in the feathering box before you press ok to extract. It helps feather out your edges a little so it doesn't have such a harsh edge.
Ann says: Here is an example of a senior picture I took at Hutchins Street Square. I extracted the girl from the picture and placed it on some Tuscan themed digital paper. It was a little more complicated because I wanted to leave the pillars and sidewalk from the original picture. I did this by selecting the part (in the middle) that needed to be removed, deleting it, and then placing the paper on the layer under it. I like how it turned out.
.JPG) |
| This is the original picture |
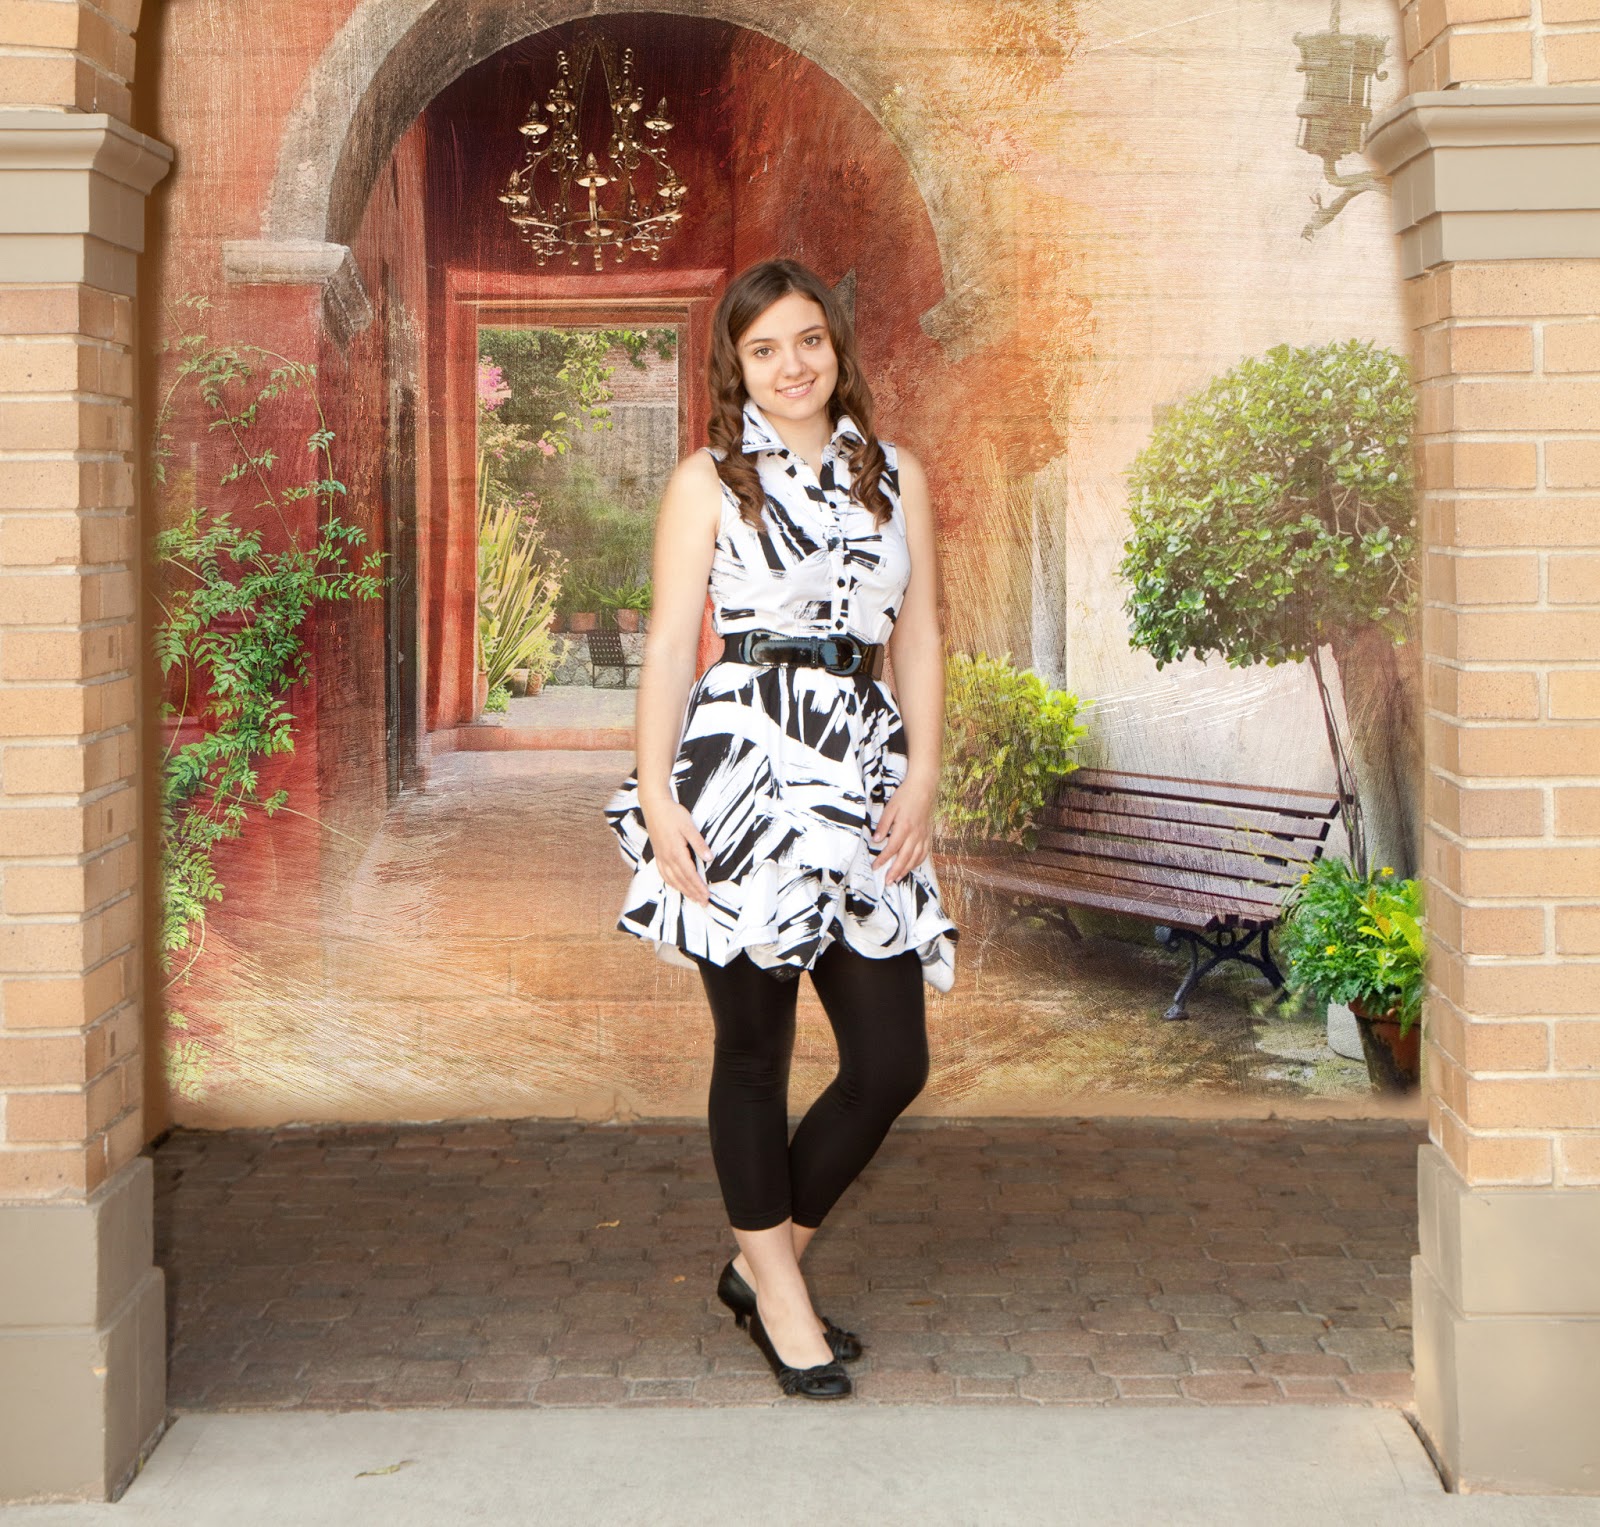 |
| Extracted girl with Tuscan background |
No comments:
Post a Comment